The Painting Process: Ceramic Figures
The newest leg in my artistic adventures is painting ceramic figures. There is a wonderful stand at my local farmers market, and the couple that runs the stand only sells ceramics, and they’ve got anything and everything you could ever want. From gnomes to Disney characters; dinosaurs to Native American figures; Pilgrims to Santa – they’ve got you covered for every holiday, every season, and every obsession.
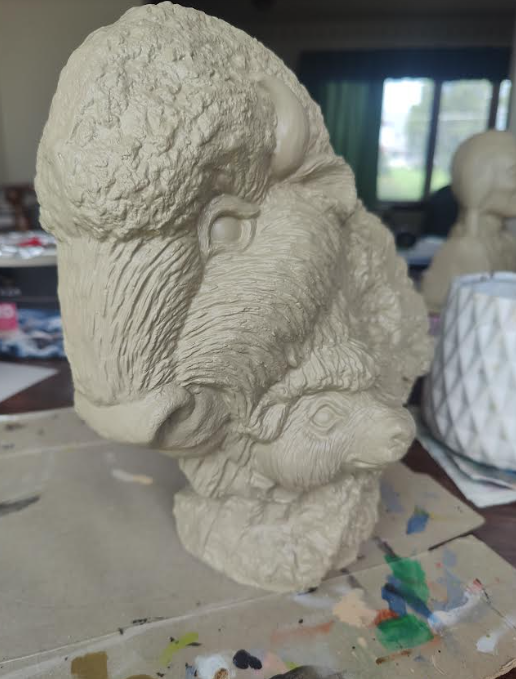
I’ve never painted ceramics, so it’s been an exciting adventure to try. It’s comparable to the lawn ornament painting process, but imagine now that those lawn ornaments are like eggs. They aren’t that fragile, but I’m terrified of breaking them. I’d read quite a bit about painting ceramics before finally breaking out the paints, but even the most prepared reader finds new challenges, and learns from the hands-on experience.
In every article, it talks about the different kinds of ceramics, or rather, the different stages in the creation to a completed piece that is ready to paint. Beyond the articles I’d read, which mirrored the lawn ornament process:
- Wash
- Dust
- Primer
- Paint
- Clear coat
I’d also consulted the stand owners who sell both painted and unpainted figures. They said they didn’t primer their figures, they are ready to go as-is and just need you to get out your paints and roll up your sleeves.
The process really is a lot like lawn ornaments, though there is a lot less prep involved. You don’t have to wash the ceramic figures, but it certainly helps to dust them off with a big paint brush outside before you get started. They are a little chalky, and paint sticks better to a clean surface than a dusty one.
Also, a coat of primer works wonders – something I get into a little more below.
What I’ve Learned So Far:
1. They aren’t quite ready to go. I tried some primered, and some without a coat of primer, and the ceramic really absorbs a lot of paint if not gone over with primer first. After the first pair of ornaments, any and all subsequent figures will get some primer on first. I’d rather it absorb the primer than all the paint…
2. They take a long longer to paint than the concrete lawn ornaments. There are a lot more fine details in the ceramic moulds than there are in the concrete ones. So it takes quite a bit more time.
3. Paint on these puppies spreads like butter! Ceramic figures don’t have the air bubbles in them that the concrete ones do. And even if you patch the concrete figures, they aren’t as smooth as the ceramic ones. But let me tell you…the paint goes on SO smoothly, and I can see paint brushes lasting a lot longer on ceramic figures than the concrete guys.
4. A little bit of color goes a long way. I love painting lawn ornaments, and having the color bring a little bit of life to the figures already loaded with character. I don’t know what the difference is, but paint on a ceramic figure seems to bring out a lot more changes than paint on a concrete lawn ornament. Painting Mickey and Minnie Mouse for sure – it was a night and day difference between the painted and unpainted figures.
5. A clear coat brings out the best. I typically use a matte or a semi-gloss clear coat on all of my lawn ornaments. On something like gnomes, a super glossy finish just makes them seem out of place in their garden habitats. But on ceramic figures, they just look so cute with a glossy finish to them! It’s a whole different look with a whole different purpose.
Overall, I definitely enjoyed the few ceramic figures I’ve painted, and will hopefully have a video up soon. One where I remember to get the camera rolling before the clear coat! They just bring so much life to a room, and being a lot smaller, make good indoor decorations as well!